Sweet & Sparkling: The Cream Soda Aesthetic You’ll Love in 30Min
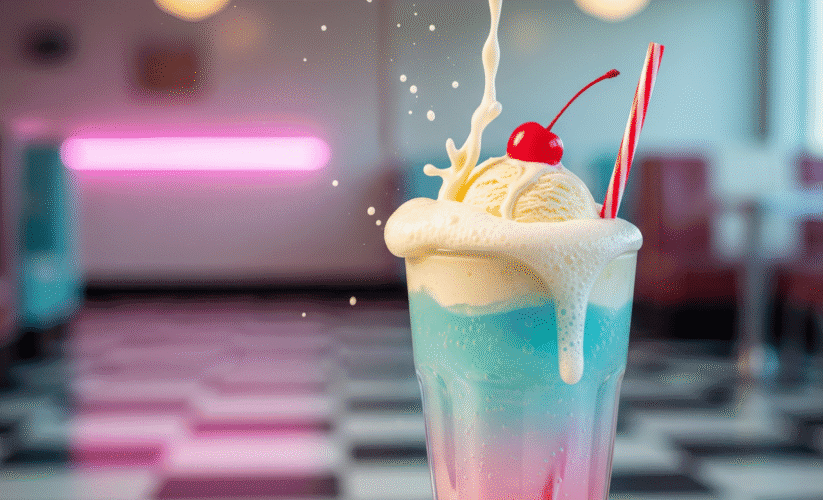
Table of Contents
Hey there, wonderful daydreamer! 👋 Cream soda aesthetic Have you ever scrolled through social media and seen a photo so perfectly vintage, so soft and inviting, that it made you feel instantly cozy? That’s the power of an aesthetic—it’s more than just looks; it’s a vibe, a feeling, a tiny escape.
And few things capture a sweet, nostalgic, and whimsical feeling quite like the Cream Soda Aesthetic. Imagine warm, vanilla-kissed bubbles, a dreamy pale amber hue, and frosty glasses dripping with condensation. It’s not just a drink; it’s a experience. It’s a little bit 1950s soda shop, a little bit modern whimsy, and 100% delicious.
The best part? You don’t need to be a professional stylist or a master chef to create this magic. You can build your own Cream Soda Aesthetic experience—complete with homemade syrup, customizable floats, and Instagram-worthy toppings—in just 30 minutes of hands-on fun.
I’ll guide you through creating the perfect base, show you how to make it luxuriously creamy without heavy cream, and—because we’re all about balancing flavors—share a genius tip for taming garlic in your savory dishes. Let’s create a little bit of edible magic!
Why the Cream Soda Aesthetic is a Beginner’s Dream
✅ No Special Skills Needed: It’s about mixing, pouring, and having fun.
✅ Incredibly Forgiving: Syrup too sweet? Add more soda! Not vanilla-y enough? Add more extract!
✅ Instant Gratification: You see and taste your beautiful creation immediately.
✅ A Confidence Booster: Creating something this pretty is incredibly rewarding.
Plus, it’s a fantastic way to turn an ordinary afternoon into something special.
Gathering Your Cream soda aesthetic Toolkit: It’s All About the Vibe
Creating the aesthetic is about more than ingredients; it’s about the experience. Here’s your guide to curating the perfect Cream Soda moment.
The Foundation (The Homemade Syrup):
- Sugar: 1 cup of granulated sugar. This creates a clear syrup for that perfect pale gold color.
- Water: 1 cup.
- Flavor: 1 tablespoon of high-quality vanilla extract or the seeds from 1 vanilla bean pod for those beautiful little specks.
The Fizz:
- Plain Seltzer or Club Cream soda aesthetic: 2-3 cups, intensely cold. This lets your homemade syrup shine.
The Creamy Element:
- This is where we create the signature “cream” flavor and mouthfeel without actual cream.
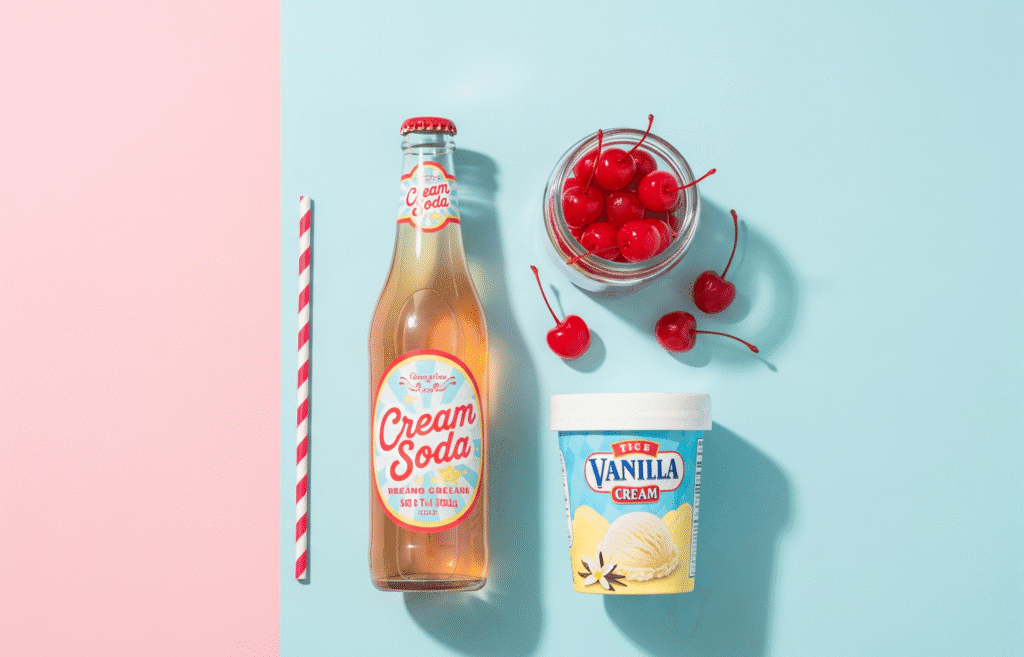
The Aesthetic Accents (The Toppings):
- For Creaminess: Whipped cream, vanilla ice cream, or a creamy foam.
- For Crunch: Gold sprinkles, crushed vanilla wafers, or candy pearls.
- For Color: Edible flowers, a pastel straw, a mint sprig.
The “Heavy Cream” Conversation: It’s in the Name, But Not in Our Cream soda aesthetic!
Traditional Cream soda aesthetic gets its name from a creamy vanilla flavor and smooth mouthfeel, not from dairy. But to build a float or a topping, you might want that creamy component. Here’s how to achieve that iconic cream soda experience, fully dairy-free:
| If You Want a… | Creamy, Dairy-Free Swap | How to Use It |
|---|---|---|
| Creamy Foam Top | Aquafaba (chickpea water) | Whip the liquid from 1 can of chickpeas with 1 tbsp sugar until it forms soft peaks. Dollop on top! |
| Dreamy Float | Vegan Vanilla Ice Cream | A scoop of coconut or oat-based vanilla ice cream is perfection. |
| Rich, Creamy Mouthfeel | 1-2 tbsp of Oat Milk or Coconut Milk | Stirred directly into the glass, it adds a hint of creaminess and cloudiness. |
The Golden Rule of Flavor: How to Balance (A Tip for Your Savory Cooking!)
The key to a perfect cream soda is balance. It should be sweet, but not cloying; vanilla-forward, but not overwhelming. This principle of balance is the secret to all great cooking. For example, in savory dishes, garlic can often be too sharp and pungent. Here’s how to tame it:
The Mellowing Power of Gentle Heat.
You want the warm, aromatic flavor of garlic, not a sharp, raw bite. The trick is all in how you treat it.
- Don’t blast it. Never add garlic to a screaming hot pan. Add it to gently warmed oil.
- Cook it low and slow. Sauté for just 30-60 seconds, stirring constantly, until it becomes incredibly fragrant. The second you see it start to turn golden, take it off the heat. Burnt garlic is bitter garlic.
This gentle approach transforms harsh, pungent garlic into a sweet, nutty, and complex foundation for your dishes. It’s about coaxing out the flavor, not attacking it!
Your Foolproof 30-Minute Cream Soda Aesthetic Game Plan
Step 1: The 10-Minute Vanilla Elixir (The Heart of the Aesthetic)
- In a small saucepan, combine 1 cup of water and 1 cup of sugar.
- Heat over medium heat, stirring occasionally, until the sugar has completely dissolved. This is called a “simple syrup.” Let it simmer for just 1 minute. Do not stir after it comes to a simmer, as this can cause crystallization.
- Remove from heat and stir in 1 tablespoon of vanilla extract. If you’re using a vanilla bean, slice it open lengthwise and scrape the tiny seeds into the syrup, then add the whole pod for extra infusion. Let this cool for 15 minutes. This is your magic potion!
Step 2: The 5-Minute Style & Setup (Setting the Scene)
- Chill your glass: Place a tall, elegant glass (a vintage tumbler or a modern highball) in the freezer. Frosting is part of the aesthetic!
- Prep your toppings: Scoop your vegan ice cream, get your sprinkles ready, pick your mint sprig.
- Choose your vessel: A small pitcher for the syrup, a beautiful spoon—these details matter!
Step 3: The 2-Minute Assembly (Where Magic Happens)
- Take your frosty glass out of the freezer. Admire it.
- Pour in 2-3 tablespoons of your homemade vanilla syrup (adjust to your sweetness preference).
- Slowly, gently pour the cold seltzer water down the side of the glass to preserve the fizz. Watch the beautiful swirls of vanilla create a dreamy cloud in the water.
- Give it one very gentle stir.
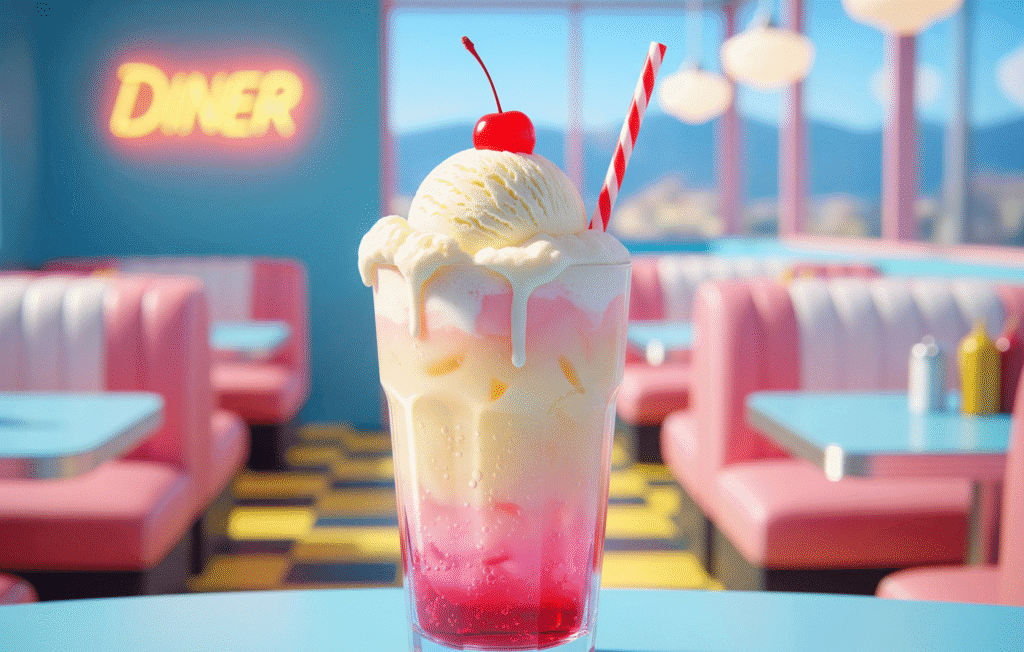
Step 4: The 1-Minute Grand Finale (The Aesthetic Finish)
- Add your creamy element: Gently place a scoop of vegan ice cream on top for a float, or dollop on your aquafaba whipped cream.
- The toppings: This is your moment! Artfully sprinkle your gold dust or crushed wafers. Tuck in a mint sprig or an edible flower.
- Add your straw, take a deep breath, and admire your creation. You’ve built a vibe.
How to Style Your Cream Soda Aesthetic for the ‘Gram
- Background: A rustic wooden board, a marble slab, or a pastel-colored napkin.
- Props: A vintage bottle of vanilla extract, the leftover vanilla bean pod, a stack of old books.
- Lighting: Natural, soft light from a window is your best friend. It makes the bubbles sparkle and the color look soft.
- The Shot: Take a photo from above to show off the toppings, or get at eye-level with the glass to capture the frosty condensation.
Troubleshooting for Beginners
- My syrup crystallized. → You might have stirred it too much while boiling. Next time, just swirl the pan instead. You can fix it by adding a tbsp of water and reheating gently until clear.
- My soda went flat. -> You poured the seltzer in too aggressively. Always pour slowly down the side of the glass.
- It’s not vanilla enough. → No problem! Add another ½ tsp of extract directly to your glass and stir.
- The aesthetic is messy. → Embrace it! Part of the aesthetic is the joyful, homemade feel. A few rogue sprinkles just add character.
You Did It! Now, Savor the Moment.
Congratulations! You didn’t just make a drink; you crafted an experience. You created a feeling of nostalgia, whimsy, and pure, simple joy. That beautifully crafted glass is a testament to your ability to create beauty and deliciousness out of a few simple ingredients.
Take a sip. Taste the sweet, vanilla-kissed fizz. Feel the creamy foam. You’ve mastered the art of the aesthetic, and you did it all yourself.